To edit the following images, I used layer masks in photoshop. To do this I first selected the image I needed to edit.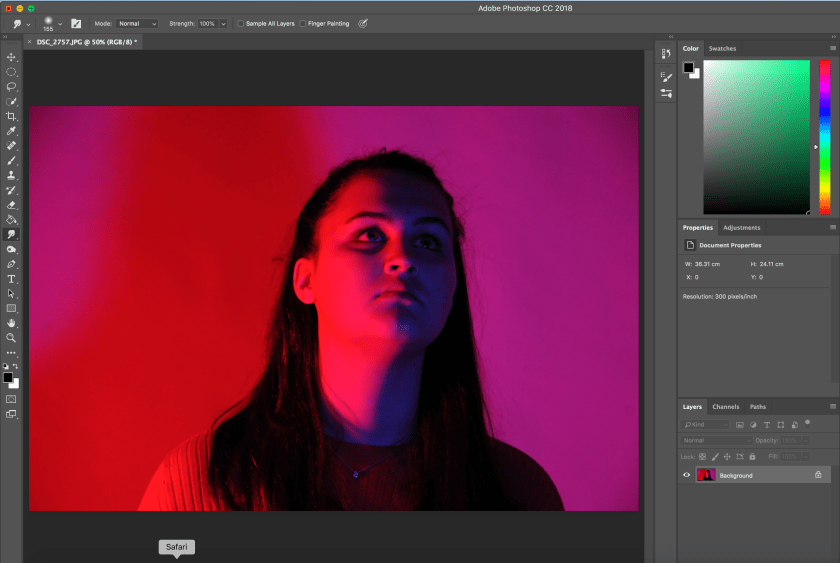
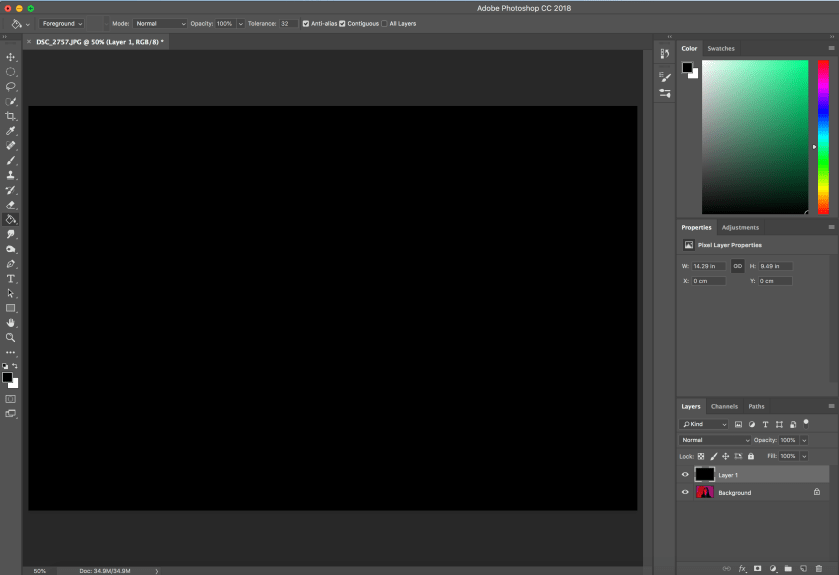
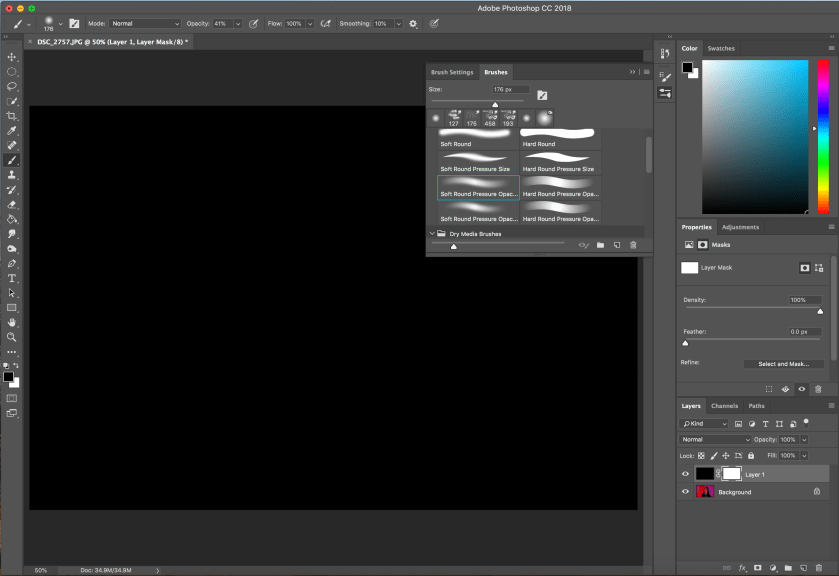
Secondly, I created a new layer, changed the foreground colour to black and used the paint bucket tool to drop the colour on the new layer. By doing this the new layer is no longer transparent, as shown below.
After this, while still selecting the layer, add a white layer mask using the layer mask button at the bottom of the layer panel.
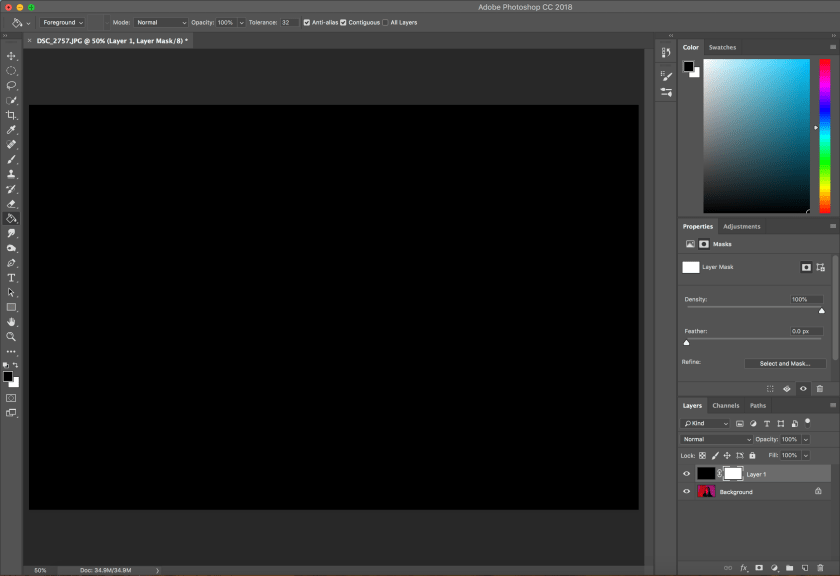
Next, I selected a brush to paint onto the layer mask, which will reveal the selected areas of the original photo.
After painting the areas of the photo that need to be revealed, the layer can be edited by selecting the levels adjustment bar. this can correct the quality of the image that may become degraded due to the use of the brush.


Next, I added another layer to change the colour tone of the image. To do this I used the gradient tool and then edited it to the colour wanted.


While still selecting this layer, I changed the blend mode of the layer from ‘normal’ to ‘colour’. This turned the colour of the original image to the colour of the layer.
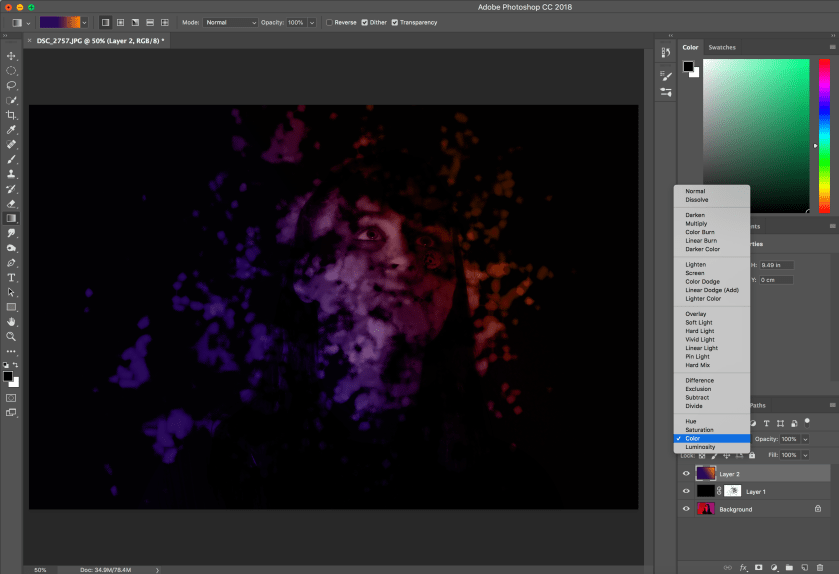
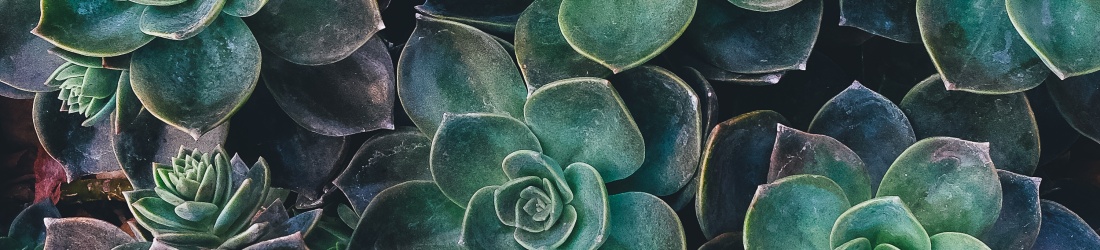
This is the original and final image:


This edit used one of my coloured lighting images, this meant that the photo already had bright, artificial colours to it before my adding of a colour gradient. This layering of colours created interesting shades within the revealed areas of the photo. By revealing some areas of the photo at a higher opacity to others, the image appears as if it is slightly less developed in some places.
The photograph draws attention to the eyes of the subject as they are clearer than the rest of the subjects face. This image wasn’t my favourite edit as I would have preferred to used a different brush and for less of the face to have been revealed.
