The third image I edited is my favourite, I began the process by selecting the image I wanted to edit and opening it in photoshop. After doing so I created a new layer and painted it black while setting the foreground colour to black.


The next thing I had to do was select the paint brush I wanted and ‘reveal’ the areas I wanted to be seen. The brush I used was ‘water splash 20’.


After revealing the areas, I used another paint brush and the levels adjustment to correct the areas of the face that needed filling in.
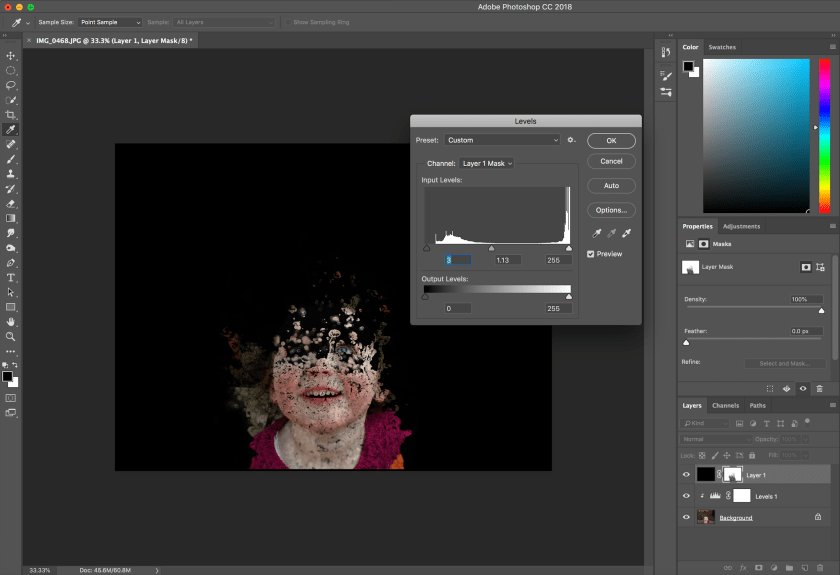
To then add a ‘watery effect’ to the image, I created a new layer and added a colour gradient it. To then make the colour only be seen on the original image, I changed the colour blend mode from ‘normal’ to ‘colour’.


I then added another layer mask onto this layer and used another brush to reveal parts of the original image from under the colour gradient.


This is my final edited image and my original:


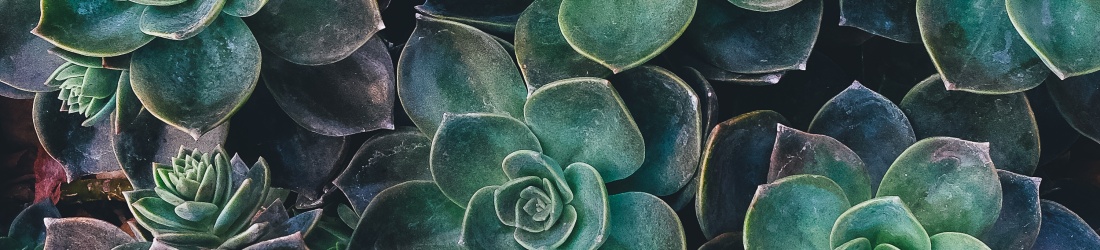
The original image was taken outside during the late afternoon on an overcast day; it shows the use of vantage points and perspective angles. Also, the image provides a contrast between the bleak grey tone of the background and the colourful model.
This final edit is my favourite as the multitude of colours adds interest to the image and draws attention to the photo. Also, by adding another layer mask to remove the colour from the eye, the eye becomes the main focal point of the image, by standing out against the rest of the face.
However, I would have preferred for the eye to be slightly clearer and more up close.
