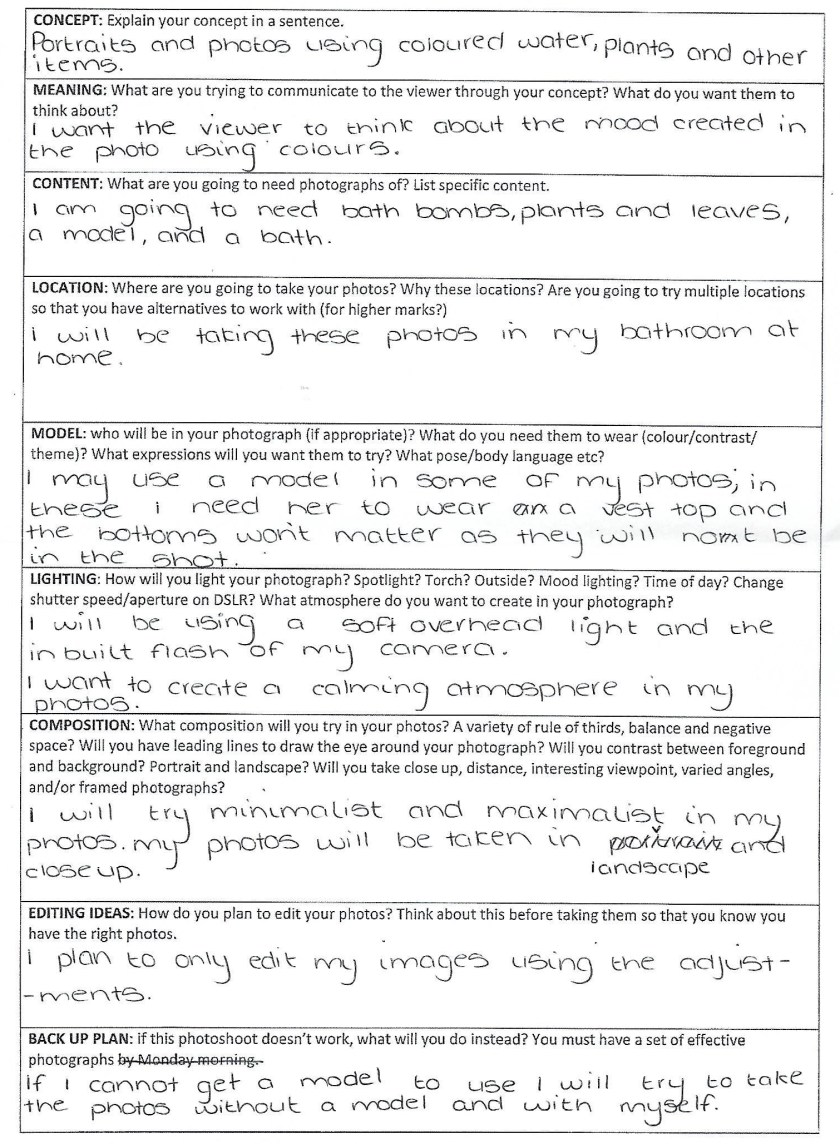
The following item is my planning sheet towards this final image:
After gathering the correct items that I would need, I set up my shoot and took my photos to then create some contact sheets. The settings I used were a shutter speed of 30, an ISO of 320, and F.4.5. From these sheets I selected the final image that I want to edit.


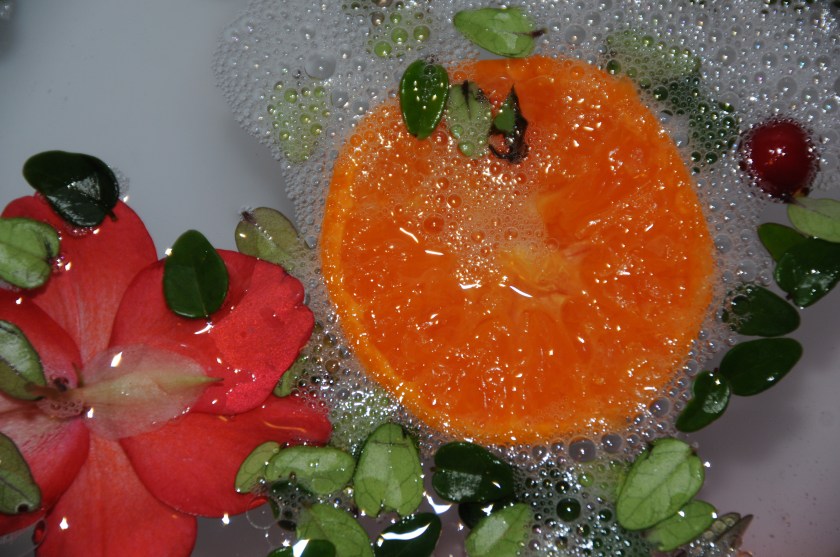
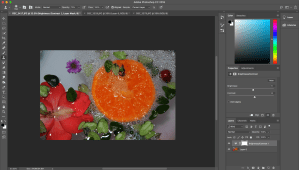
I chose the following image to edit: I liked this image as it had a large amount of colour in it due to the orange and it was well composed, focused and exposed.
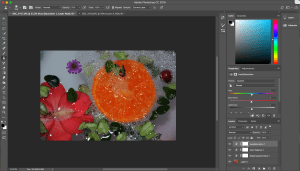
I did not drastically change the image through editing as I only wanted to adjust it. to begin I opened the photo in photoshop, and removed the lock button on the layer.
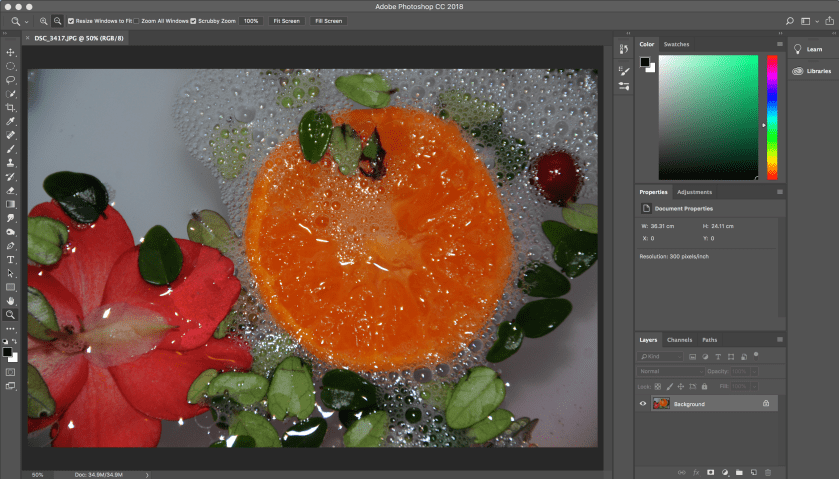
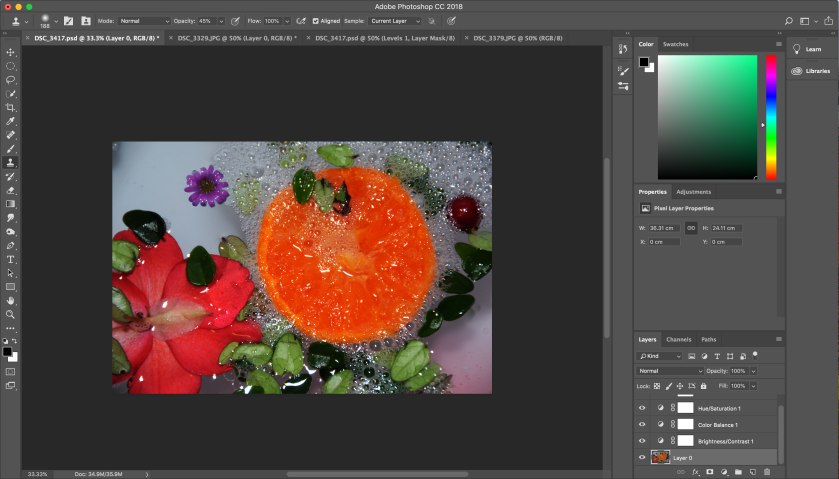
Secondly, I opened another one of my images in photoshop and used the clone stamp tool copy a flower from one onto the other to fill part of the space left bare in the top left corner.


To neaten up the edges of the flower I copied into the image, I used the clone stamp tool again in a much smaller size to fill in the gaps between the leaves. This allowed the edit to look much more realistic.


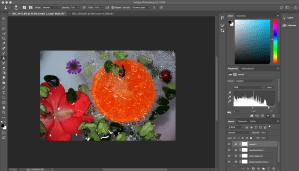
I then slightly adjusted the brightness/contrast of the photo, followed by the colour balance, hue/saturation, and levels.
To finalise the image I deepened the shades of pink in the bottom right corner using the burn tool. This was to add a more subtle colour to the water.
This is my final image:
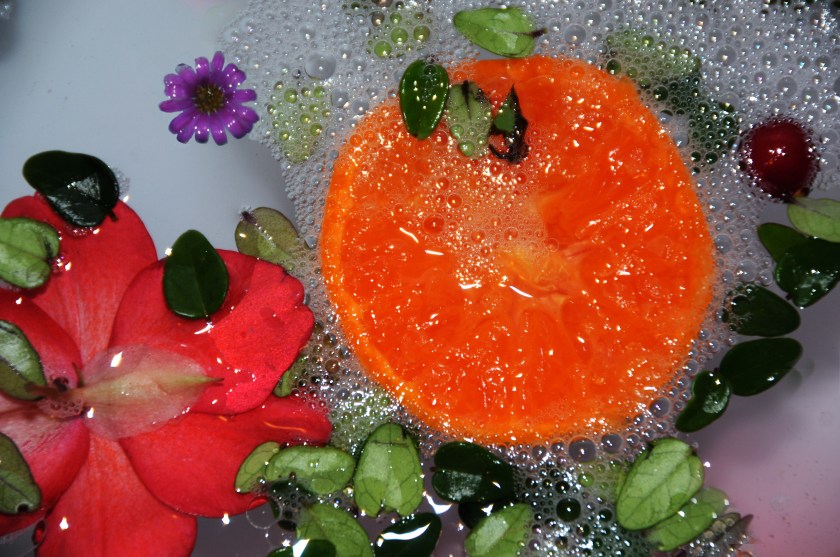
I have chosen this as one of my final images as it showcases the main points of the unit brief: colour and shape. I find this final image to be my strongest and most liked edit.
The bursts of colour made for a vibrant and pronounced image. Also, the natural curved shapes in the photo add interest to the photo with a link to nature.
The inspiration for this final image came from Maisie Cousins.
